
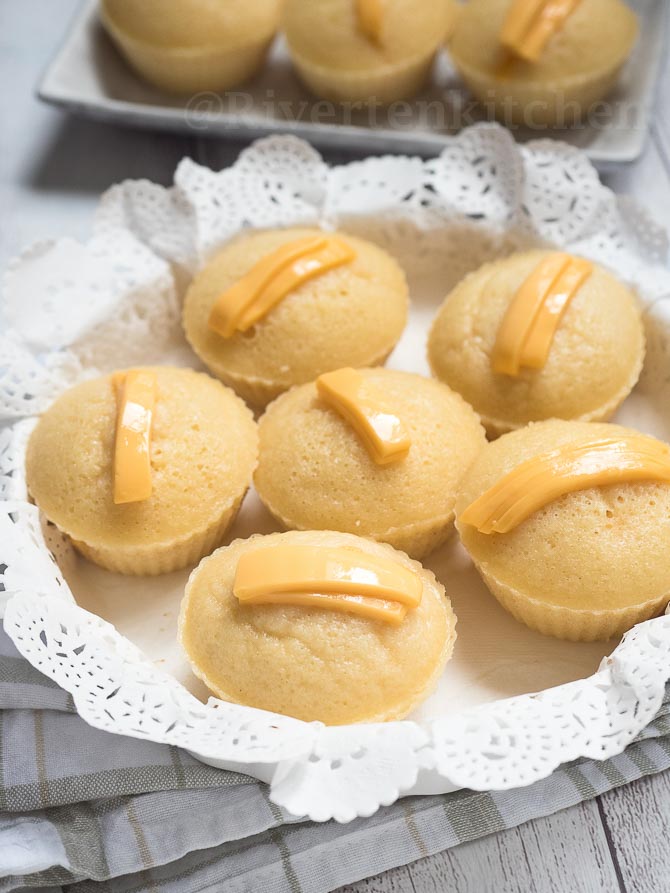
This is the easiest and yummiest bibingka recipe! Moist, tender, slightly gooey, and buttery rice cakes made with rice flour and coconut milk. Why wait for Christmas when you can make these anytime of the year?

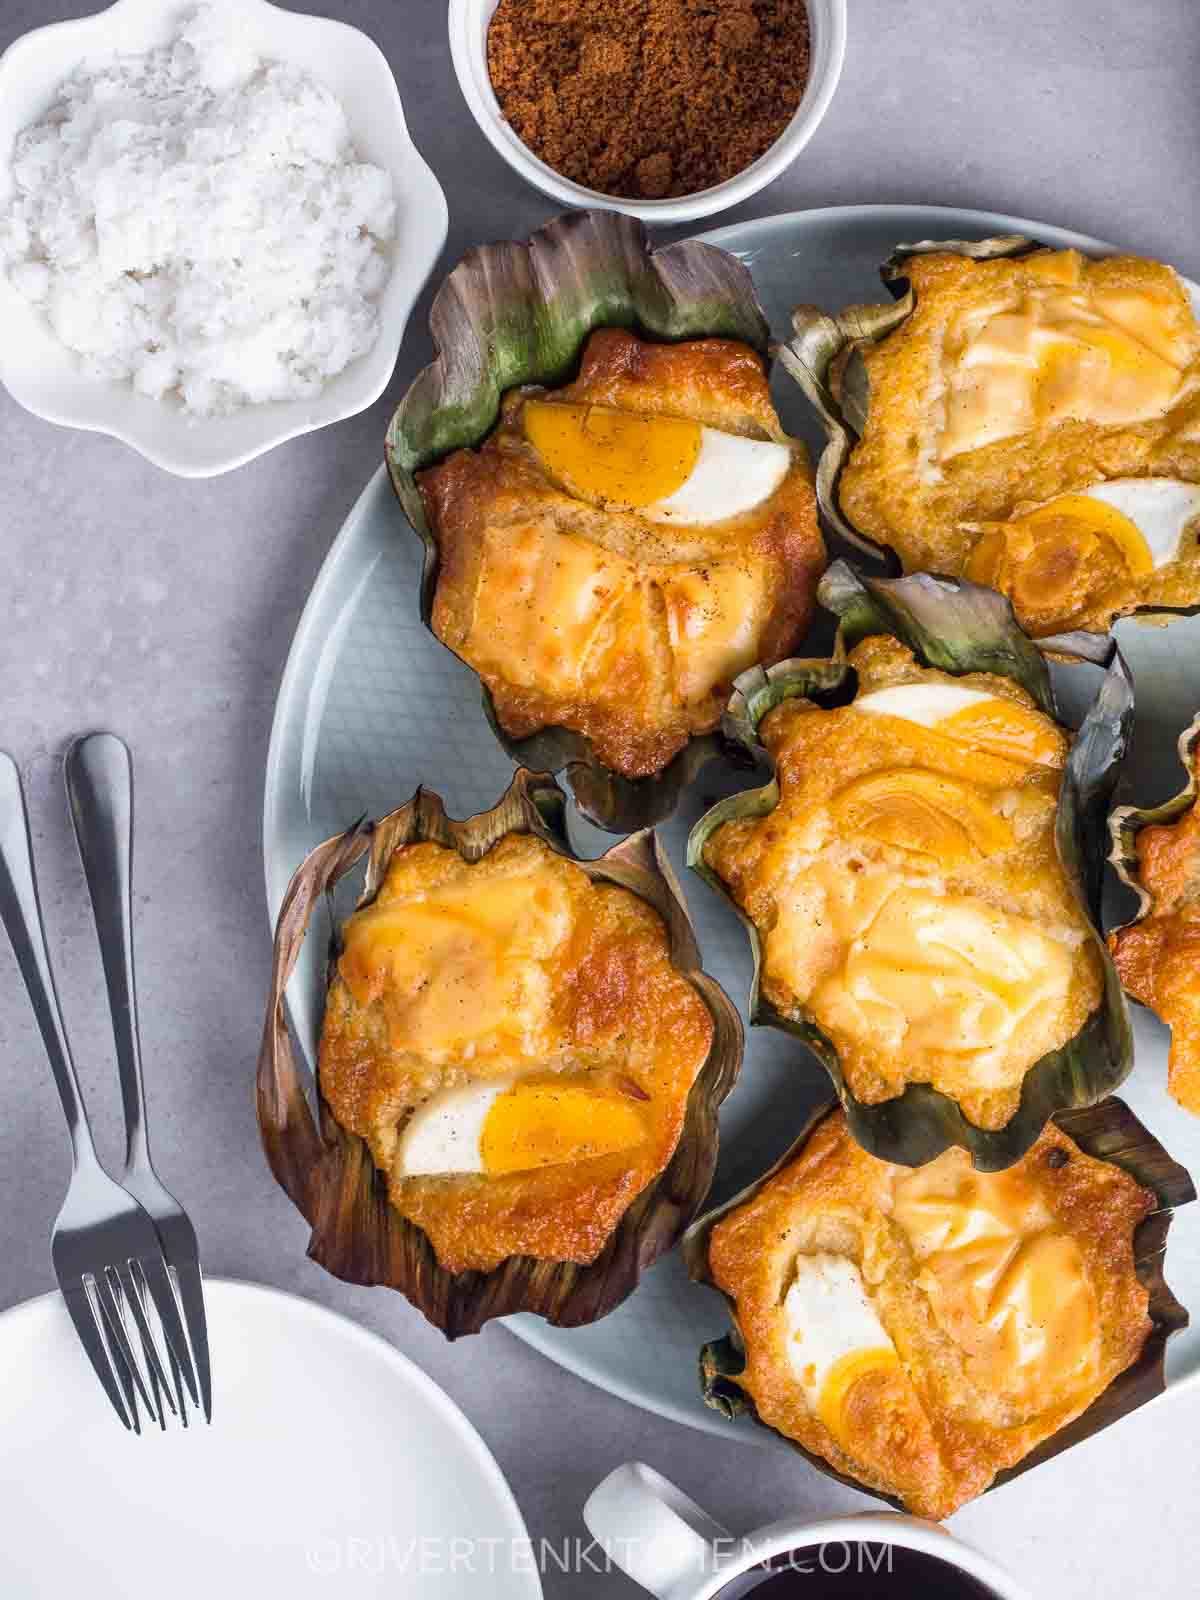
Christmas Bibingka
Christmas Bibingka is what many Filipinos fondly call this rice cake. It’s one of my favorite Filipino street food that is specially made during the Christmas season. When you start smelling that lovely familiar aroma of these rice cakes, you know it’s officially the start of everyone’s favorite holiday season.
I have dreamt of making this for a long time. Did a lot of research and a lot of recipe testing using different combinations of ingredients? It took me many attempts until I finally nailed down the flavor and texture I wanted my bibingka to have. And I’m so excited to be finally sharing it with you!
Why you’ll love this Bibingka Recipe
- The “galapong” is made of rice flour. That means, no overnight soaking or milling is needed–a process many home cooks find taxing.
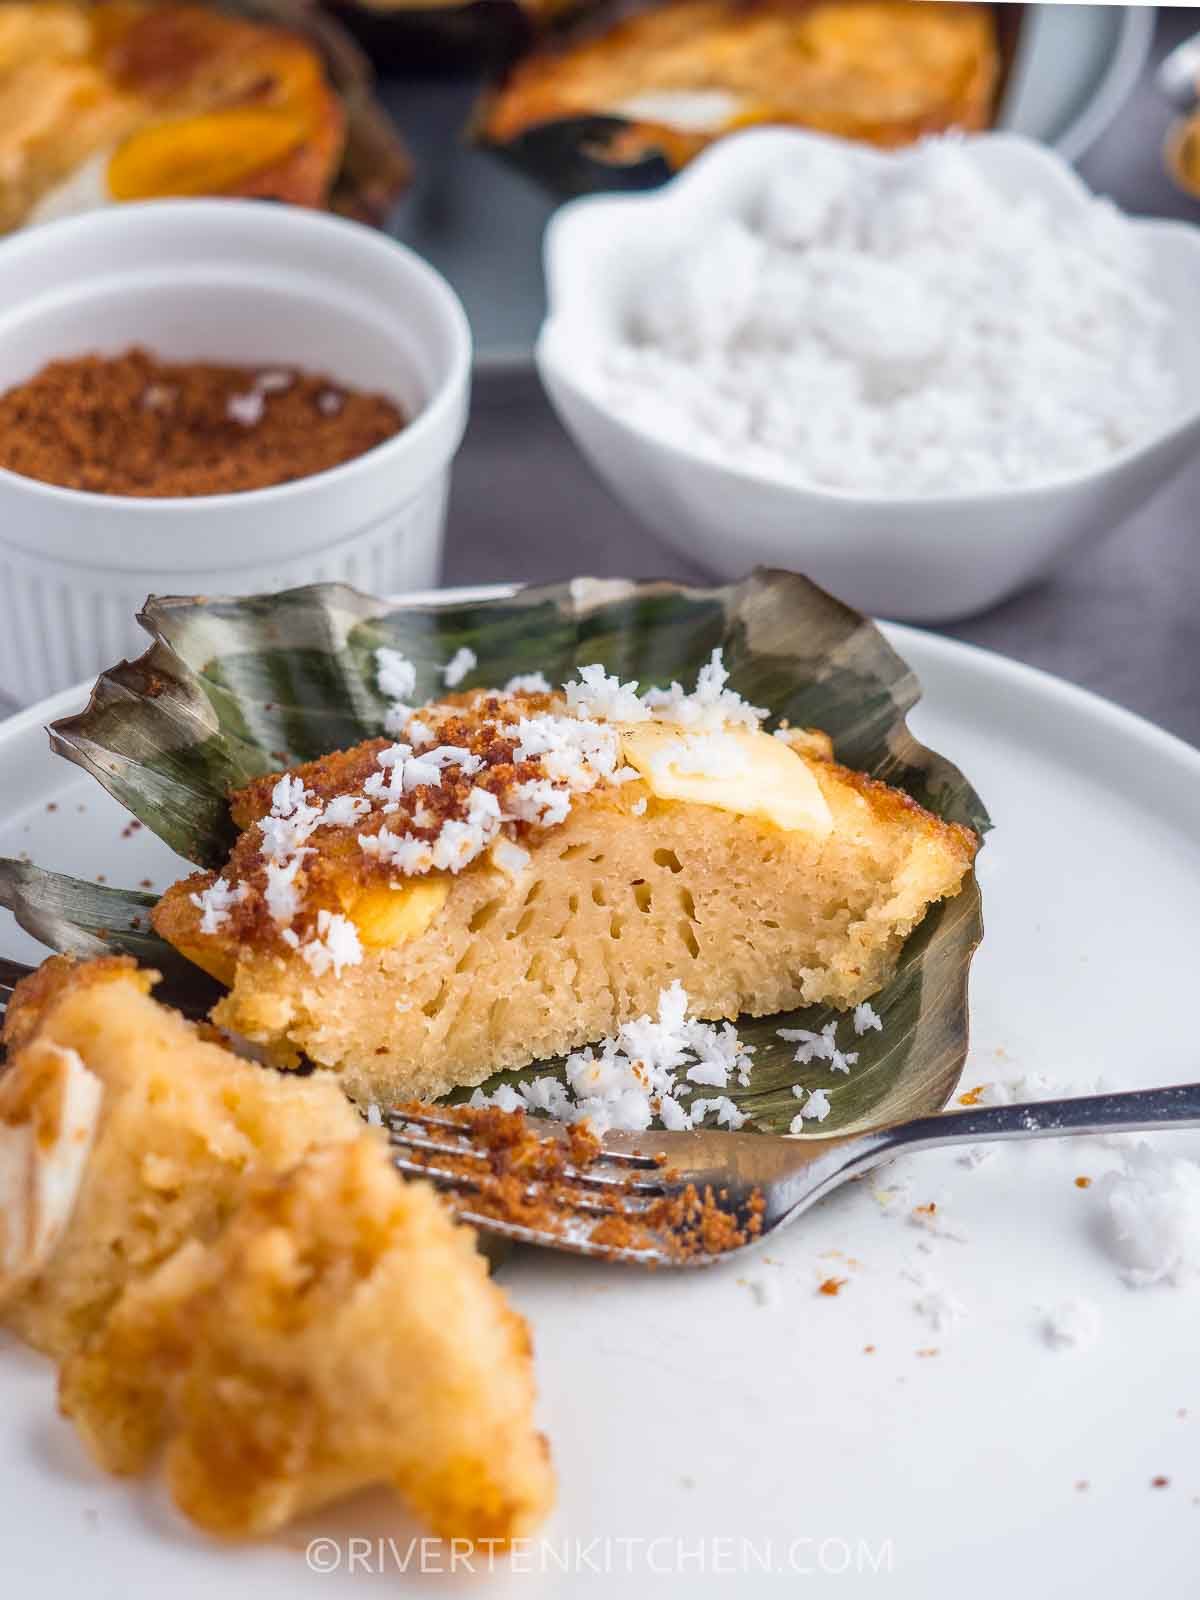
- It’s moist and tender and not crumbly. The texture is so good even the next day!
- Easy to make and so delicious! This recipe certainly is not the traditional way of making bibingka but it’s most certainly the simplest way. And it so so yummy!
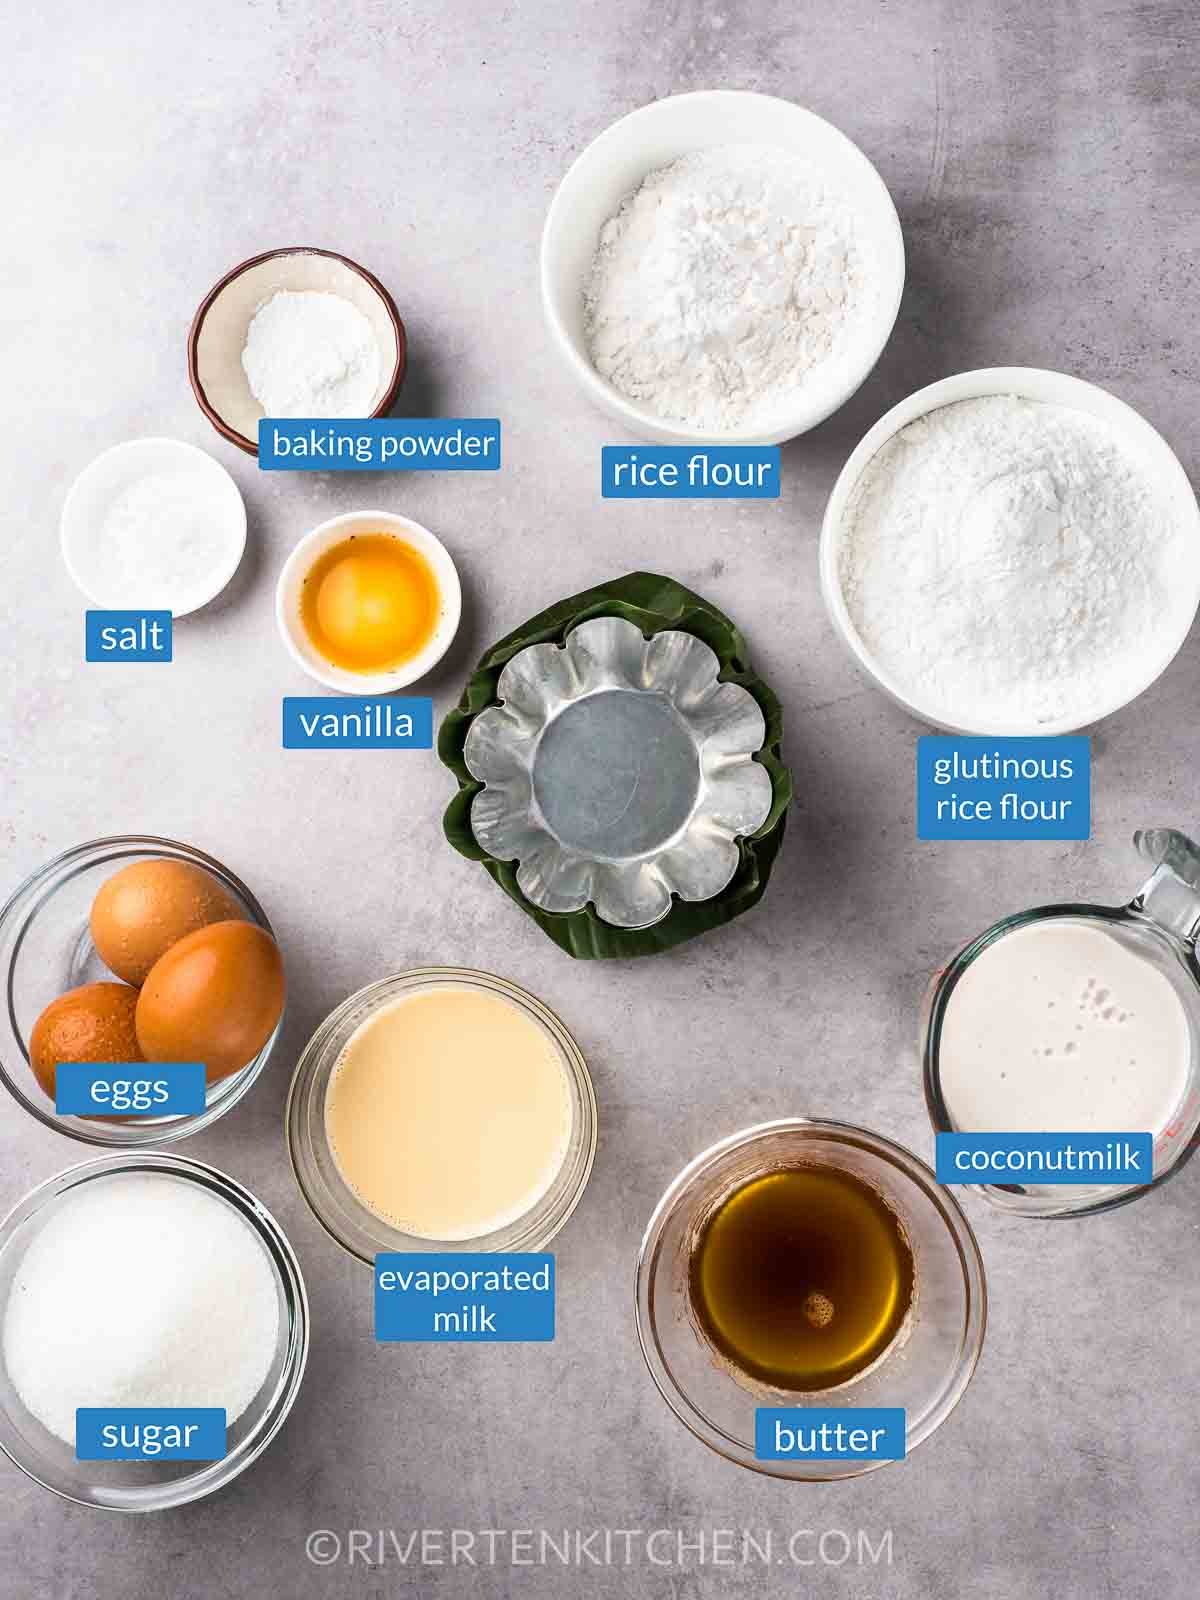
Homemade Bibingka Ingredients
Nothing complicated, just easily accessible ingredients you can find in many Asian and Filipino stores.
These include two non-traditional ingredients that really elevated the flavor of the cake. I’m sure you’ll love this!
- Rice flour – you will need two kinds–glutinous rice flour and rice flour. To achieve a moist and gooey cake, we will use more glutinous rice flour, also known as sweet sticky rice.
- Coconut milk – I recommend using canned for its thick consistency. Check the list of ingredients on the back label. It should, at the minimum, only have coconut milk and water.
- Brown butter – it’s worth the effort. I promise! If you’ve been a long-time reader, you know how I love this stuff.
- Eggs – give the cake structure. Use large eggs.
- Baking powder – more on this later.
- White sugar – use granulated or caster sugar.
- Evaporated Milk – a lovely addition to this recipe. It’s one of the key ingredients that make this bibingka so yummy!
- Salt and Vanilla
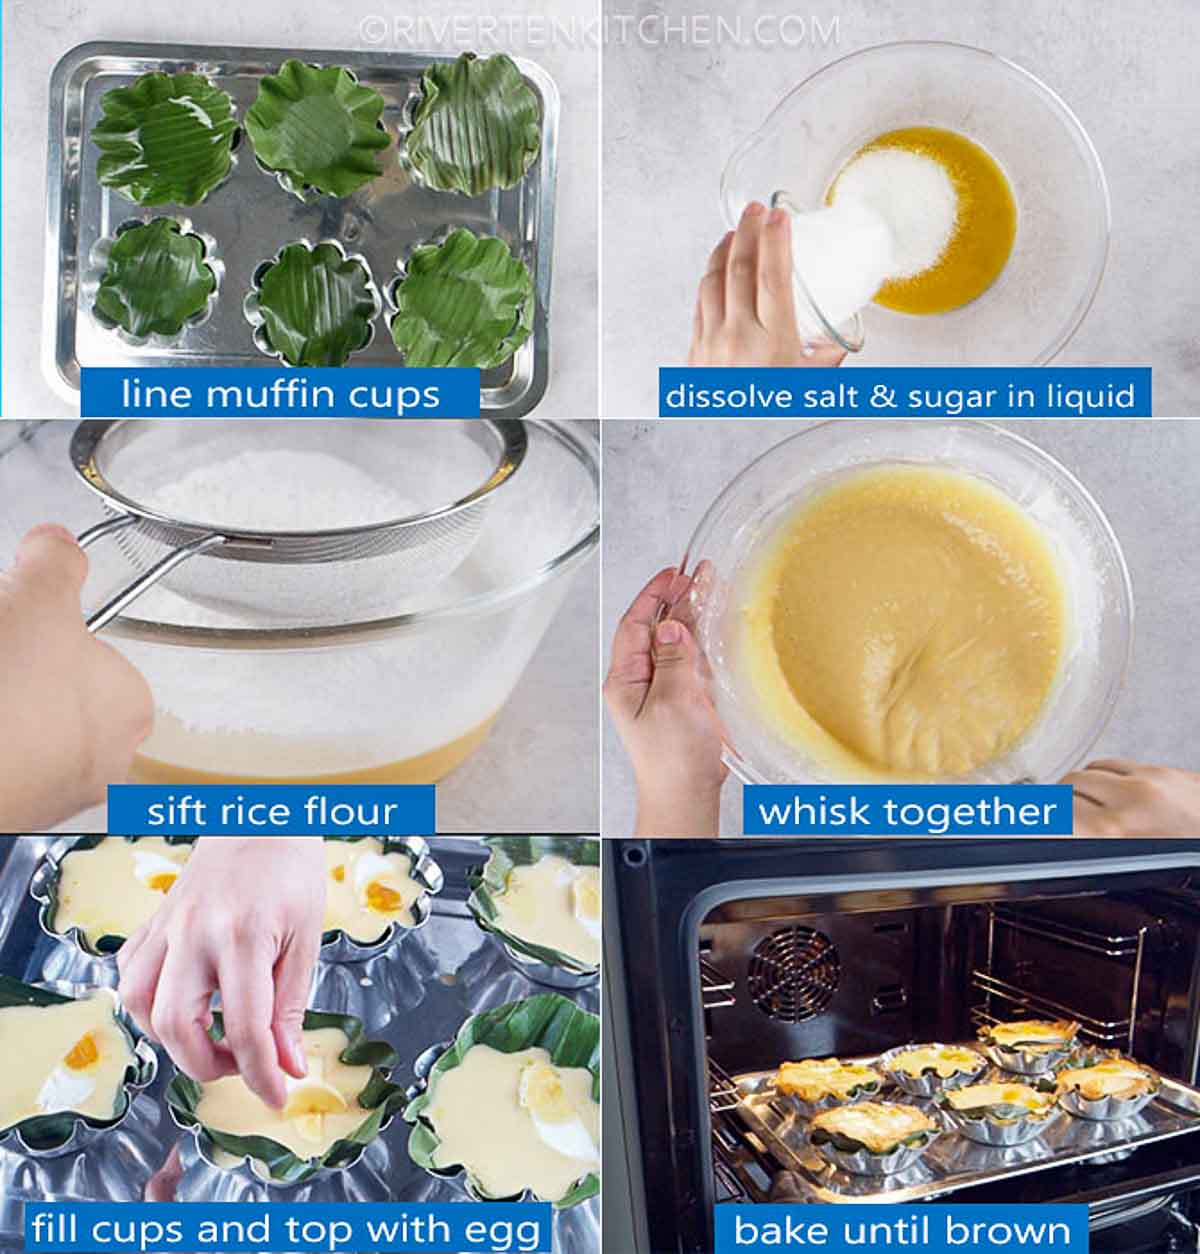
How to make Bibingka with easy galapong
Craving for bibingka? You can make these Filipino rice cakes any time of the year. No need to wait for Christmas 🙂
Here are a few tips that will help the making process as smooth as possible.
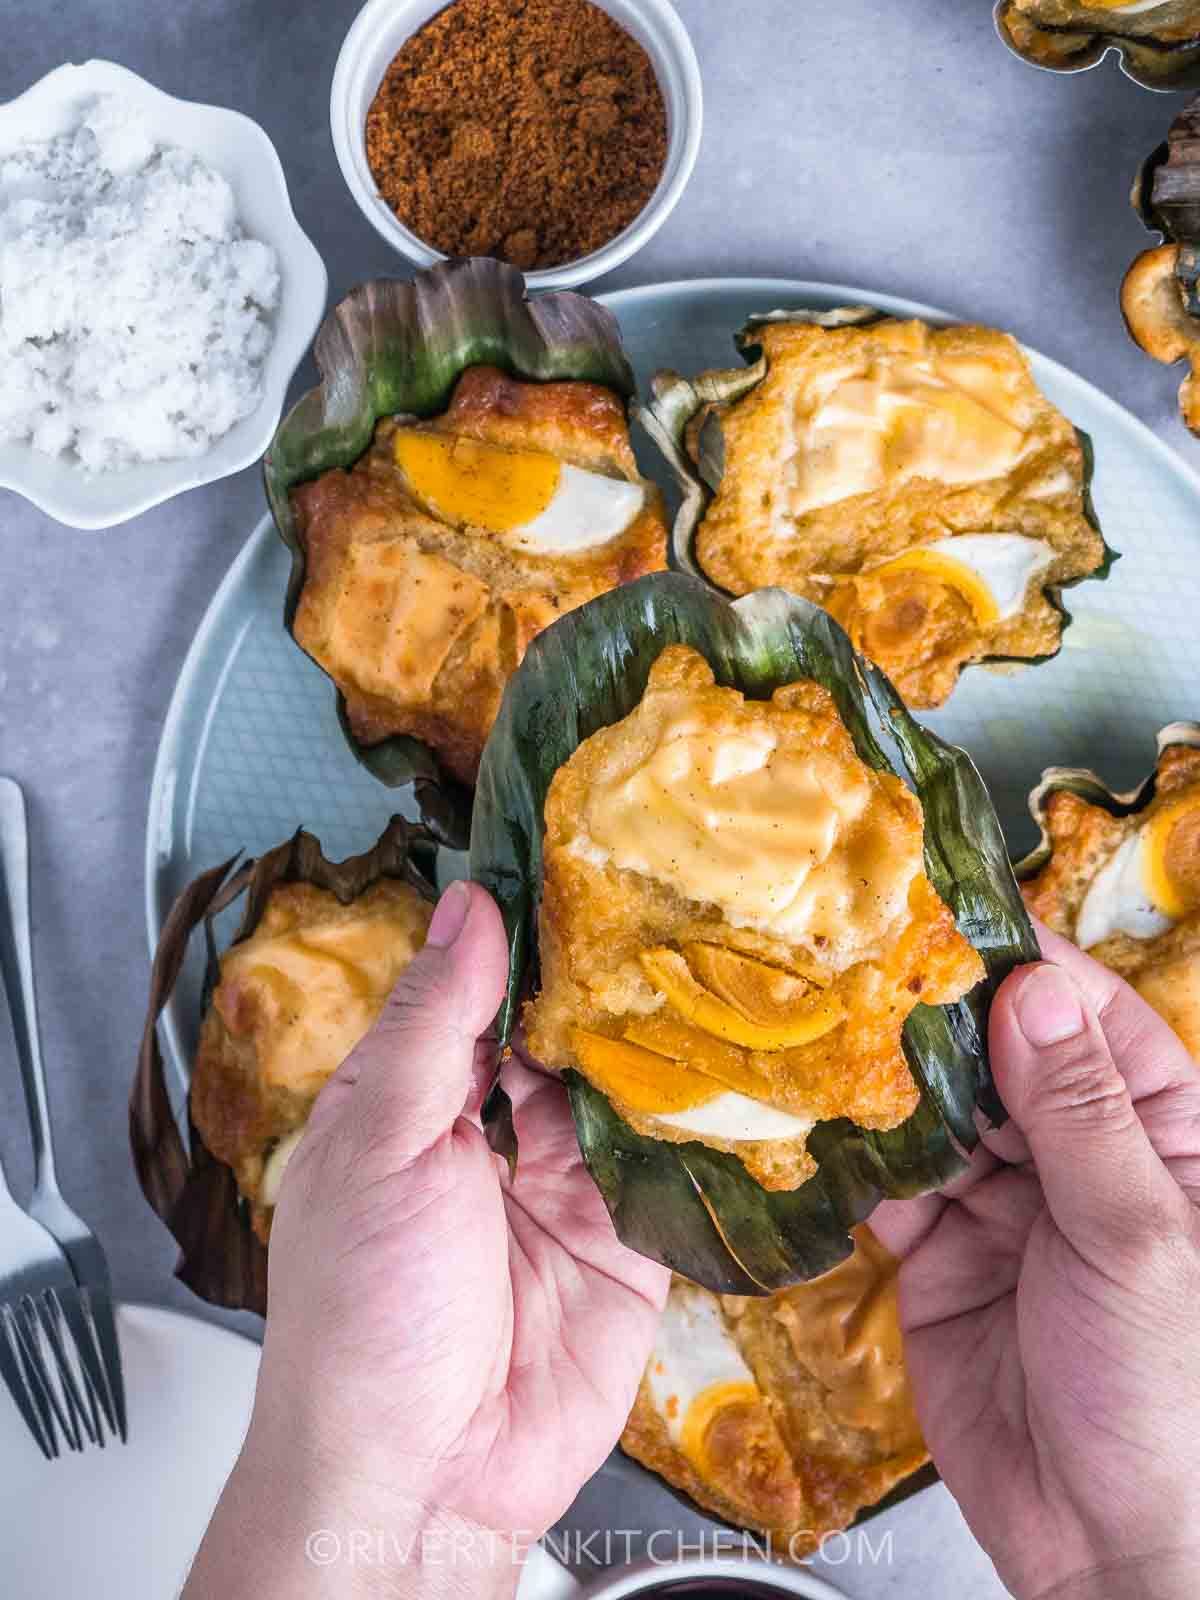
- Line the muffin cups with grilled banana leaves. Use two layers to make sure the batter doesn’t leak. Even if your bibingka is not cooked in charcoal or clay pot, it will have that familiar “bibingka kakanin” smell and flavor that you buy in the roadside stalls. Watch the video on how to grill, shape, and tightly fit it in the muffin cups.
- To properly dissolve the sugar and salt, combine it with the liquid ingredients.
- Use fresh baking powder. If you’re using an old batch, the cake will not rise and will become dense. Check and make sure that baking powder is not expired.
- To achieve that nice brown bibingka top, place the cake on the top rack of the oven for the first 12-15 minutes of baking. Finish, by moving it to the middle rack until the inserted toothpick comes out clean.
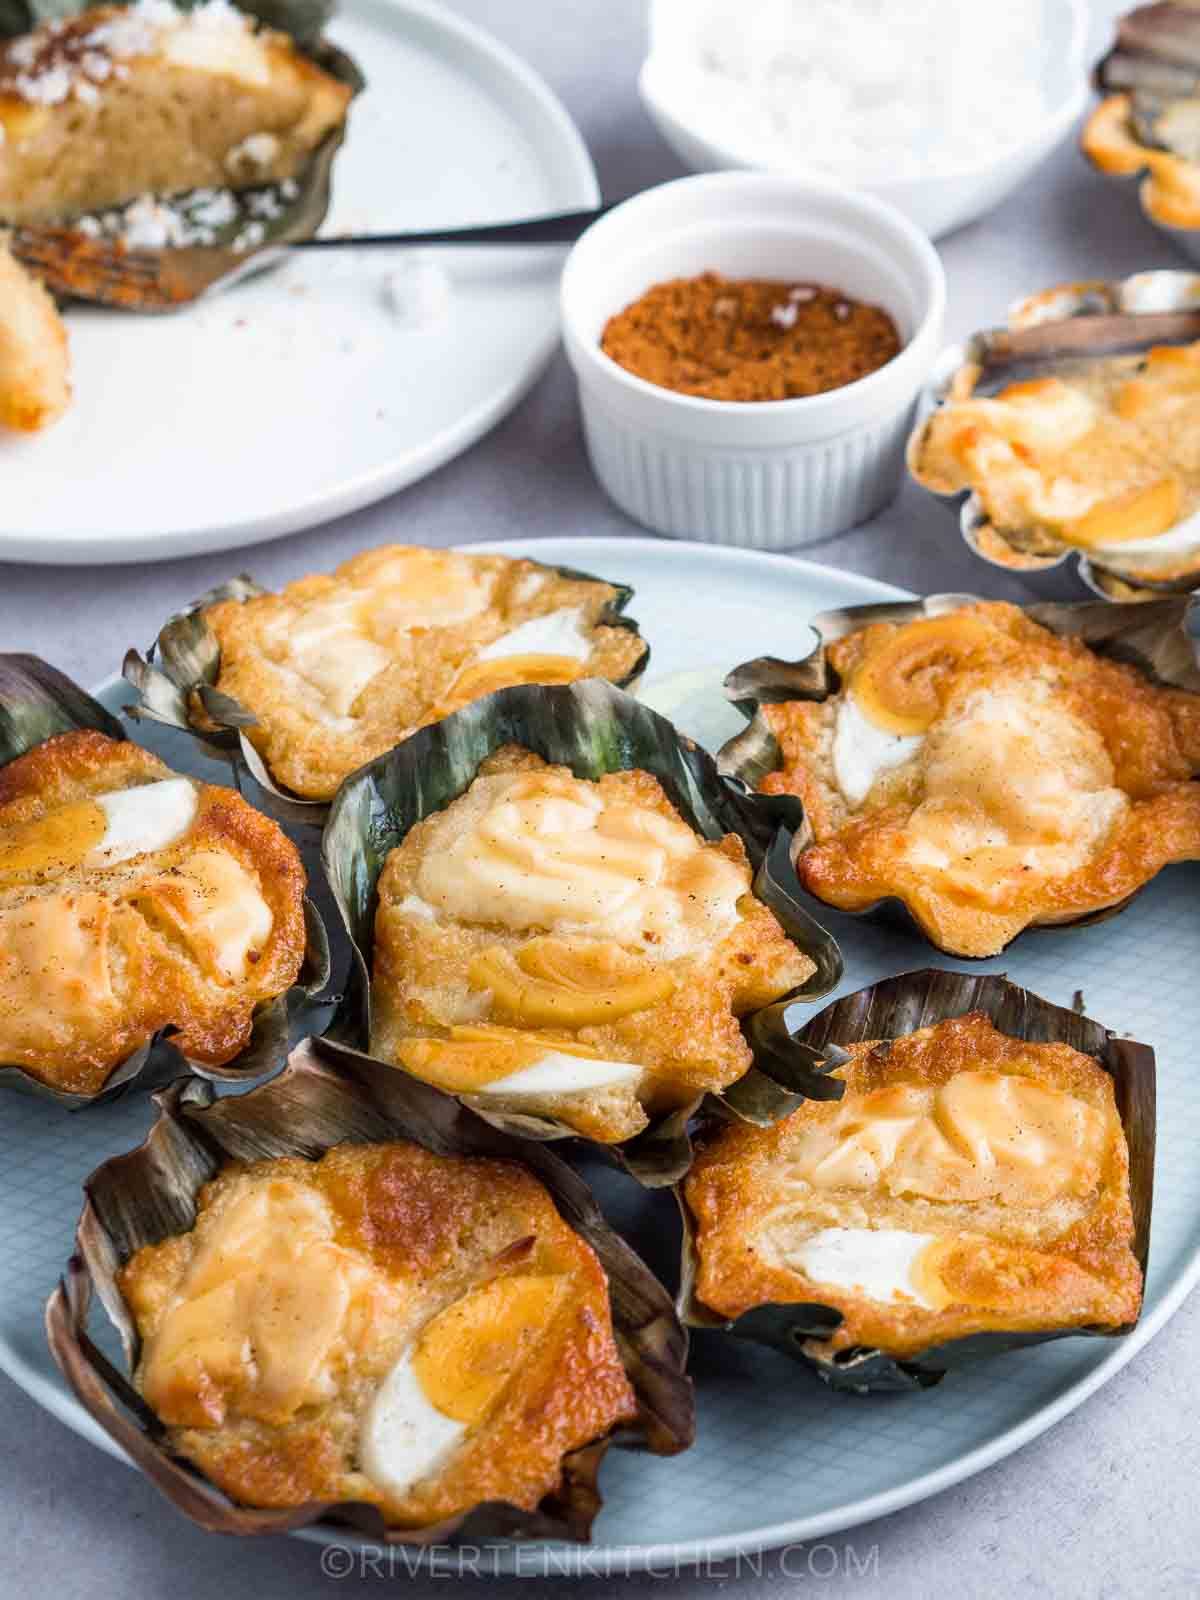
Bibingka toppings
These toppings not only give character to the cake but also provide a nice contrast of flavor (salty) and texture that you won’t see in other Filipino kakanin (e.g. biko and bibingka malagkit).
All are optional but highly recommended.
- Grated coconut – use fresh or substitute with coconut flakes
- Salted duck egg/ itlog maalat – gives bibingka its distinct salty flavor.
- Coconut Palm Sugar – or use fine brown sugar
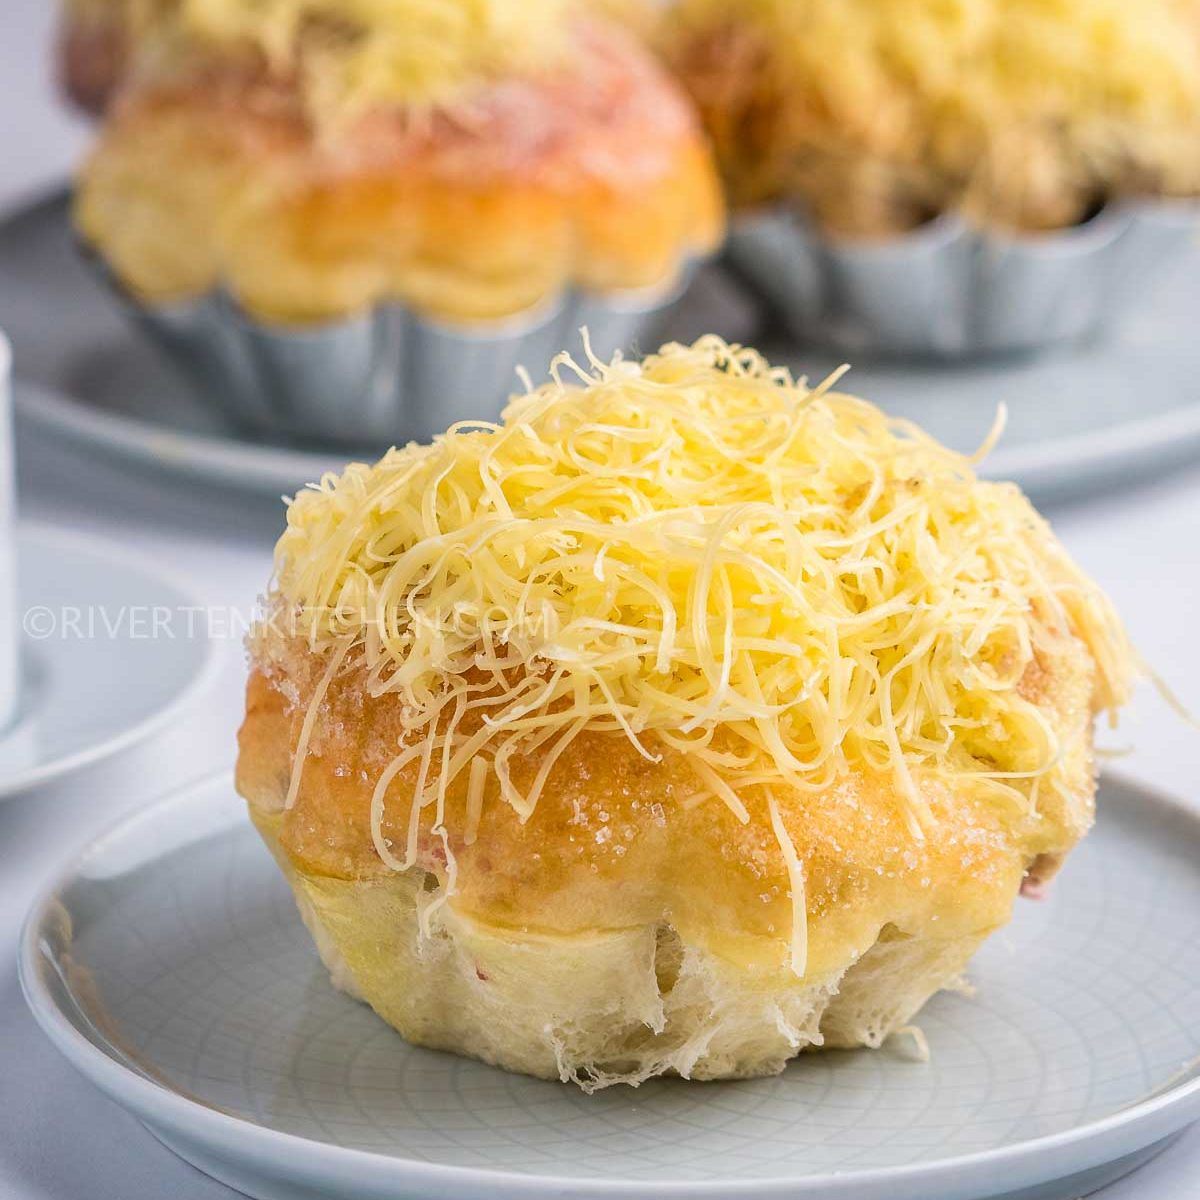
- Cheese – this is a non-traditional topping but Filipinos (including myself!) have become obsessed with this stuff, using it with bread, puto, desserts, and even meat dishes like beef caldereta.
Storage/Shelf life and Re-heating
Refrigerate in an airtight sealed container. When properly stored, it can last up to 3 days. Reheat for 40 seconds in the microwave.
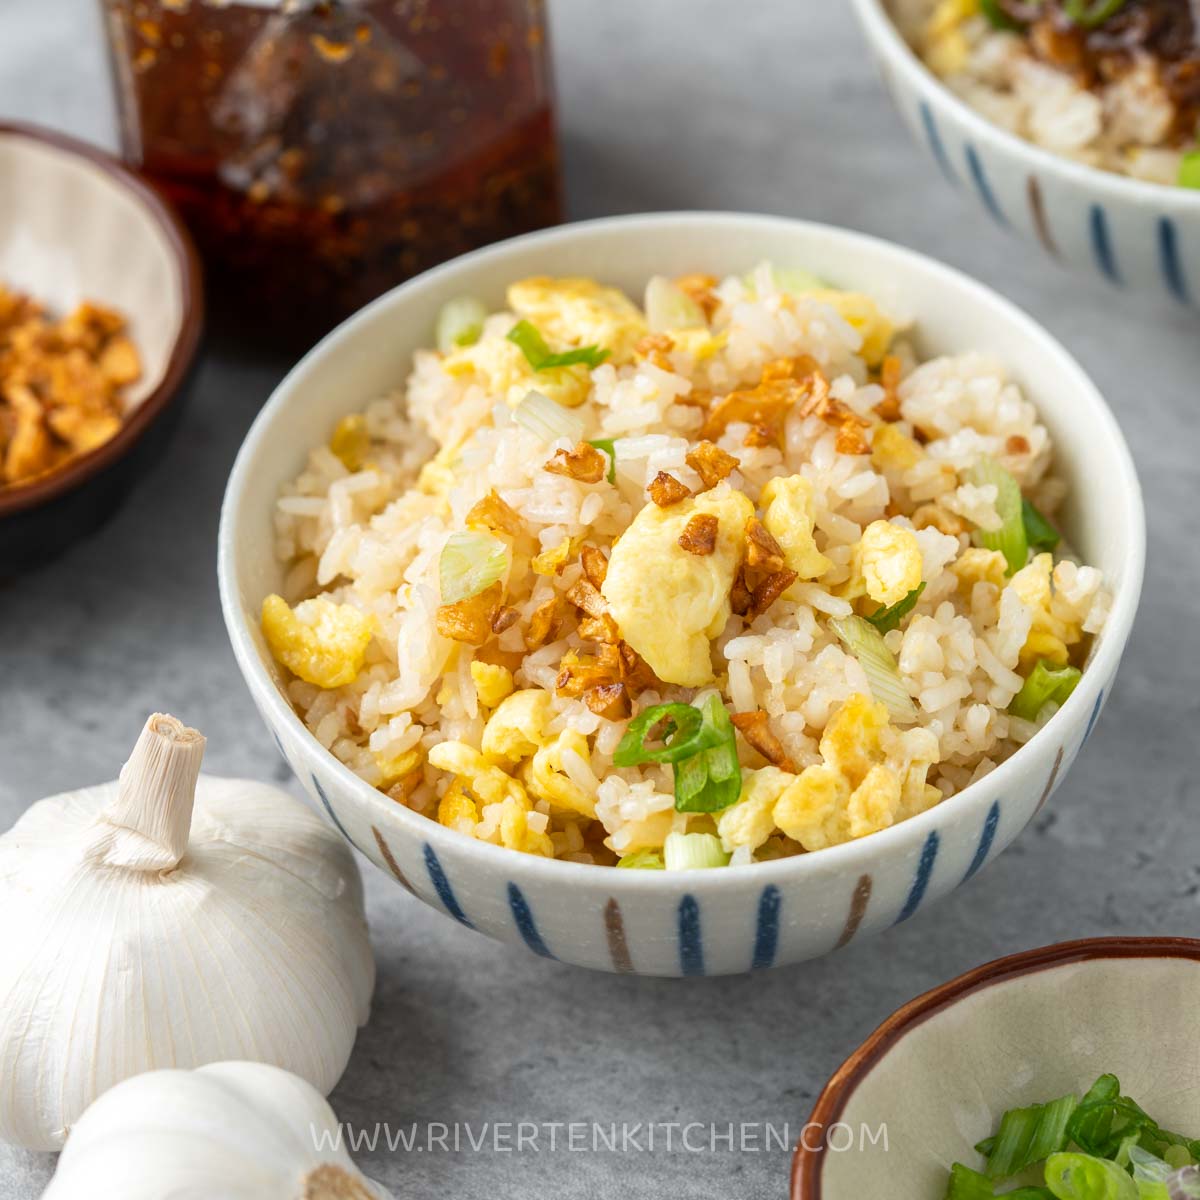
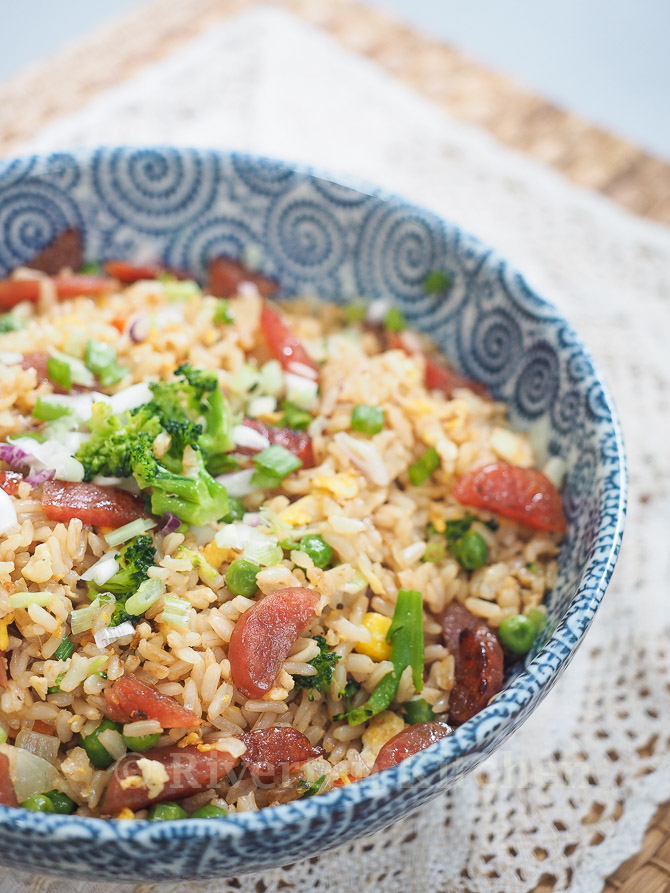
What to Serve with Bibingka
Rice bibingka is best paired with these savory Filipino dishes:
- Pancit Bihon (Filipino Rice Noodles)
- Minced Beef Sopas-Filipino Macaroni Soup
- How to Make Filipino Spaghetti
- Pancit Canton with the Most Delicious Sauce
- Cheesy Baked Macaroni with Meat Sauce
Common questions about bibingka cake
The common culprit is using expired baking powder. To test if it’s still active, scoop 1/2 teaspoon into a bowl and pour with 1/4 cup of boiling water. It should bubble up vigorously. If not then it’s time to buy new stock.
In essence, almost all the ingredients in this rice cake recipe are gluten-free including the glutinous flour. Just make sure to check the label of the evaporated milk you’re going to use and that it specifically states it’s gluten-free.
More Filipino kakainin recipes you can make at home
- No-Bake Biko with Latik Sauce
- Special Palitaw
- Bibingka Malagkit
- Maja Blanca
- Leche Flan
- Cassava Cake
- Kutsinta No Lye
Bibingka Recipe Video
HUNGRY FOR MORE? Subscribe to my newsletter and follow along on Facebook, Pinterest, and Instagram for all of the latest updates.

Easy Bibingka Recipe (Filipino Rice Cake)
Ingredients
Wet Ingredients:
- ¼ cup unsalted butter
- ¾ cup + 2 tbsp white sugar
- 3 large eggs
- ½ teaspoon salt
- 1 teaspoon vanilla extract
- ⅓ cup evaporated milk
- 1 cup coconut milk (canned, see note 1)
Dry Ingredients
- 1 ½ cup glutinous rice flour (see note 2)
- ½ cup rice flour
- 2 ½ teaspoon baking powder (see note 3)
- grilled banana leaves (for lining)
Choice of Toppings
- processed cheese (sliced into strips, divided-see note 4)
- grated coconut or coconut flakes (unsweetened)
- salted duck egg
- coconut palm sugar
Instructions
- Pre-heat the oven to 190c/375f. Grease large muffin cups with melted butter or line with grilled banana leaves. Place in an oven-proof tray.
- In a small pot, melt butter slowly over low heat until it turns clear and brown. Watch carefully to prevent burning. Remove from heat and pour onto a heat-proof bowl. Residual. Let it cool completely.
- In a large bowl, whisk brown butter and sugar. Add eggs, salt, vanilla, evaporated milk, and coconut milk. Whisk until sugar has completely dissolved.
- Sift the rice flour, glutinous rice flour, and baking powder into a strainer over the liquid ingredients. Stir until well combined and lump-free.
- Immediately fill the muffin cups with the bibingka batter. If the batter sits on the counter for a period of time, make sure to stir it well before pouring it over the muffin cups.
- Top with a slice of cheese and sliced salted egg on top. Bake for 12 to 15 minutes in the top rack of the oven until the top is brown. Start checking at 10 minutes. Move the rice cakes to the middle rack and bake for another 10 to 12 minutes until the toothpick inserted comes out clean (see notes for oven types).
- Let it cool completely. Sprinkle with sugar or grated coconut on top. Serve and enjoy!
Recipe Notes & Tips:
- Canned Coconut Milk – avoid using those that contain thickeners like xanthan gum, guar gum, or carrageenan. It should, at the minimum, only have coconut milk and water.
- Glutinous Rice flour – also known as sweet sticky rice flour. It is not the same with rice flour.
- Baking Powder: Make sure baking powder is fresh and not expired.
- Cheese: If using grated cheese, top it just before the bibingka finishes cooking.
- Oven – lower oven temperature may be needed if using a smaller size oven.
- Storage/Shelf life: Refrigerate in an airtight sealed container. When properly stored, it can last up to 3 days. Reheat for 40 seconds in the microwave.
OMGeeelicious!!!
These look amazing!! Love the color and of course the flavor is perfect for this time of year!!
Hi! What’s the diameter of the bibingka mold that you used for this recipe? Thanks
Hi, I want to make this recipe (although I already rated it at 5-Star). However, I don’t have individual cups to mold it with. What is the baking time if I were to use 8×8 square pan or 9×13 rectangular pan?
Thanks!
Hi Julie, adjust the baking time in the middle rack up to 30mins. Insert a toothpick by 25mins to check. This all depends on the size and oven temperature.
– Mella
Hi, thanks for this recipe. I followed every measurement and instruction for the ingredients but the outcome is so airy that it crumbles. Is there anything I can add to make it less airy? Additional rice flour perhaps? But it tastes really good!
Hi Dustin, did you use glutinous rice flour or just rice flour? I’ve had that outcome when I was only using rice flour.
– Mella